How to Start a Profitable Blog in 2026 and Make Money
I only recommend products or services that I believe will add value to my readers. By using these affiliate links, I’ll receive a commission if you purchase through my link, at no extra cost to you. Please read full disclosure here
How do you start a blog and make money from it like everyone in the blogging world?
I bet you’re as interested in starting a profitable blog as I was when I started looking for an easy, comprehensive guide to help me start a blog and make money.
If you’re still unconvinced about starting a blog, I can tell you blogging changed my life.
I made $10,000 a month from my blog in my first year only while still working as a full-time freelancer (UPDATE: I quit freelancing a year ago).
If blogging has changed my life and helped me become financially independent, you can also.
If you’re wondering how much you can make blogging as a beginner, I can assure you that you can make up to a thousand within a few months (I’m the proof).
Here are some of my Blog income reports if you want to know how much I make money blogging:
How I Made $331,31 My first 4 Months of Blogging Only – October 2021.
With this comprehensive and easy tutorial on how to start a professional blog that will make you money, you can easily set up your blog in hours only.
First, let me share with you a few reasons why you should start a blog:
- Be financially free.
- You’re not committed to a 9-5 job.
- Work from your room.
- Earn money while you’re sleeping.
I originally started With Houna in November 2020, but I officially began blogging in 2021.
And within a few months of blogging, I made my first $300. That’s how when I knew blogging was my way of being financially free and didn’t need to look for a 9-5 job after graduating.
After one year, I was able to make over $1000 monthly, and I was able to hit $10,000 in one month. I have never been lower than this ever since.
Trust me, you’ll make the same and even more following my step of step how to start a blog and turn it into a full time business.
How to Start a Blog and Make Money
1. Pick up a Niche
Choosing the topic you want to blog about is the first step of setting up your blog.
You want to blog about a topic you’re passionate about, so you keep going year after year.
You don’t want to blog about a topic you don’t have experience with, or you don’t like because you’ll end up feeling burnout.
2. Choose A Domain Name
Coming up with a blog name is easier than you think. But you’ll have to brainstorm a bit to find the perfect name for your blog that reflects your personality and your niche.
When you’re choosing your domain name, make sure you don’t have special characters (-) or spelling mistakes on it (double “a” or something).
Also, try to make it should so people can remember it easily when they want to go back to your blog for more articles.
3. Get Your Domain Name
I’ve got my domain name with Namecheap, which is the best platform for domain names. They offer amazing customer service and free privacy protection forever (not all hosting offers this).
Also, you get the domain name for a very cheap price. I remember mine was only a few bucks which is good for a beginner.
Go to Namecheap
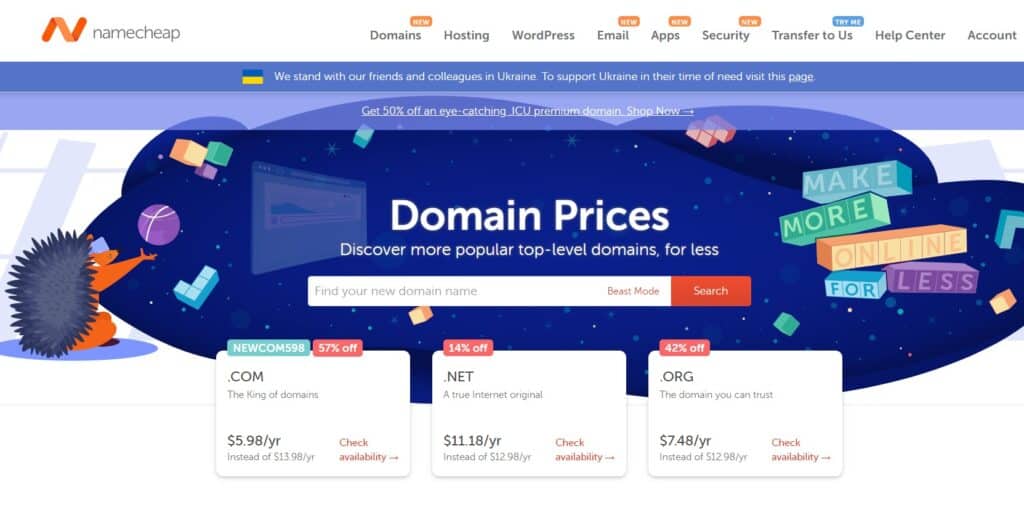
Write the domain name you want to get and make sure it is a “.com” and click search.
The reason why you need to choose the dot com and not “.org” or “.net” is because this is more for brands and organizations.
Next, you want to make sure your domain name is available to use. After making sure it’s available, you click add to cart, and you get it.
If the domain name you’re seeking isn’t available, you can brainstorm another one.
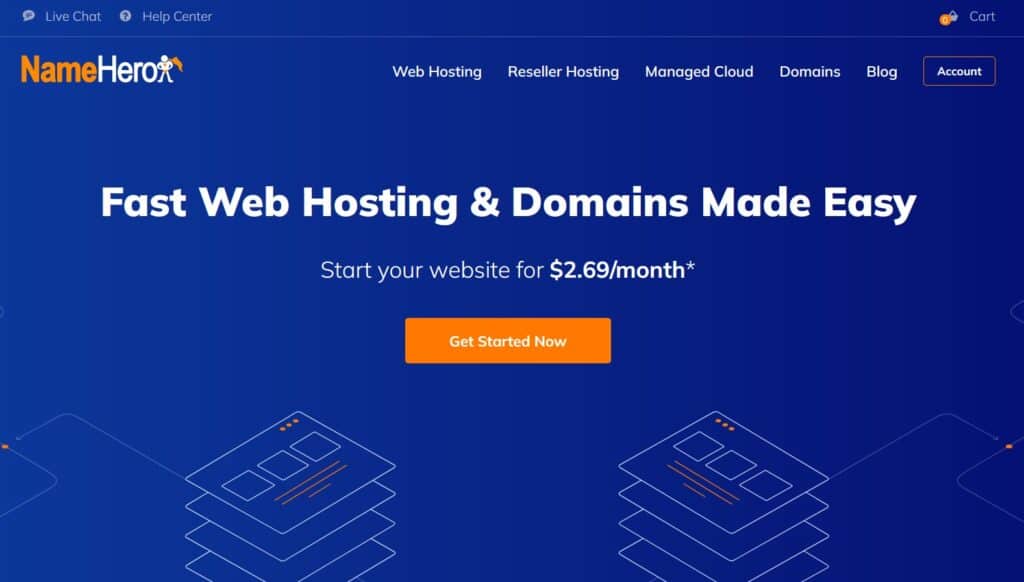
4. Pick up a Host
Now, you need to get a self- hosting to get your website live. If you want to make money blogging, you definitely need to avoid free platforms like Blogger, Wix, and Squarespace, as you won’t have full control over your website.
There so much self-hosting on the internet, but I only recommend and use Namehero.
First, let me explain why you need to separate your domain name and website hosting.
Although most self-hosting websites offer a free domain name when you choose them, I highly recommend avoiding this as you don’t want one company to have complete control over your website.
For example, if you have a technical issue with your domain name or DNS, you’ll only reach out to your domain hosting to fix it so that it won’t affect your whole website.
However, a minor issue can affect your whole website when you have your domain name and website hosting under one company.
Picking a host was one of the hardest decisions I made In my early days of blogging because I didn’t want to go with a host that would give me a headache.
After researching and asking many questions about the perfect self-hosting, I decided to go with Namehero, believing that I could always switch to another platform if they didn’t meet my expectations.
And guess what? I never changed my host as a beginner blogger because Namehero exceeded my expectations.
First, they have the best responsive customer service – When I started, they helped do most of my website setup (setting up WordPress, SSL certificate, connecting to the domain name, etc.), which no other hosting offers you.
I remember asking over 25 questions in one day (I’m not exaggerating; I’ve counted them, LOL), and they answered me quickly and effectively.
Secondly, they are cheap, and I got the turbo cloud plan, which is only $74 a year. But as a beginner, you can go with the starter plan for $36 and only $3 a month.
How cheap isn’t it?
Lastly, Namehero offers high security and protection for your website, which is one of the many reasons I love them.
Click on the Get Started button to go to the hosting package options.
On Namehero, you’ll find four different hosting plans.
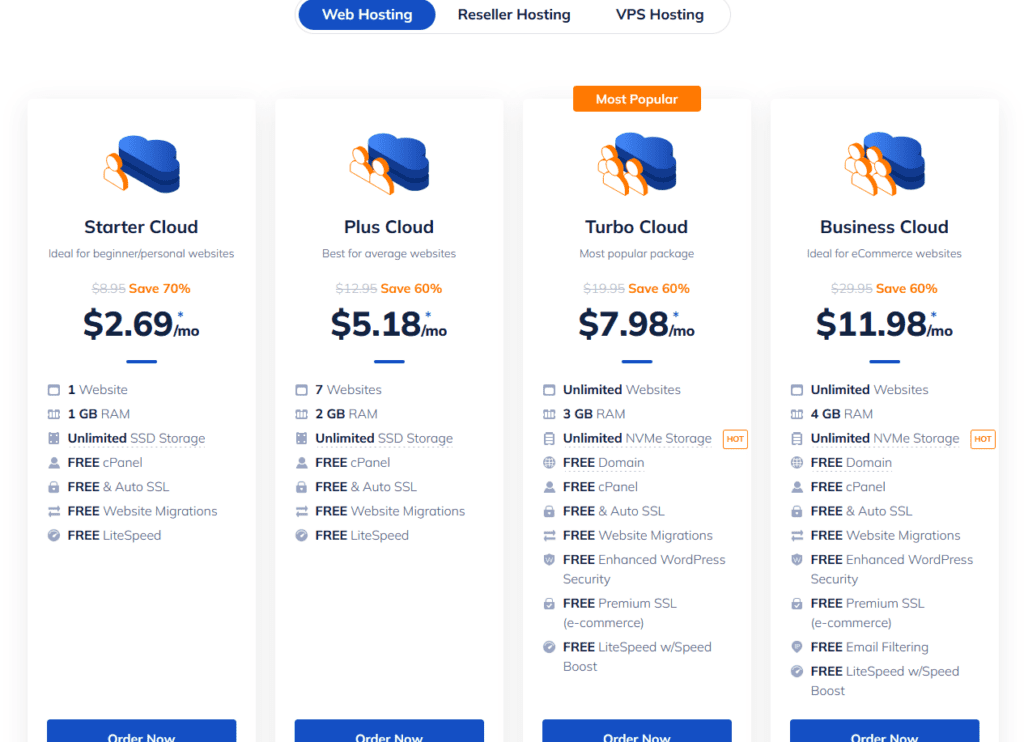
Additionally, I got the Turbo plan because they offer unlimited storage, free light speed, etc.
But you can go for the starter or plus cloud if you’re on a budget and upgrade as you grow.
Click Order Now to continue to the next page.
You’ll find four different hosting plans. As I said, I’ve chosen the Turbo plan because it said it’s the most popular, but you can choose the starter plan. Click Order Now to continue to the next page.
Add your Domain Name
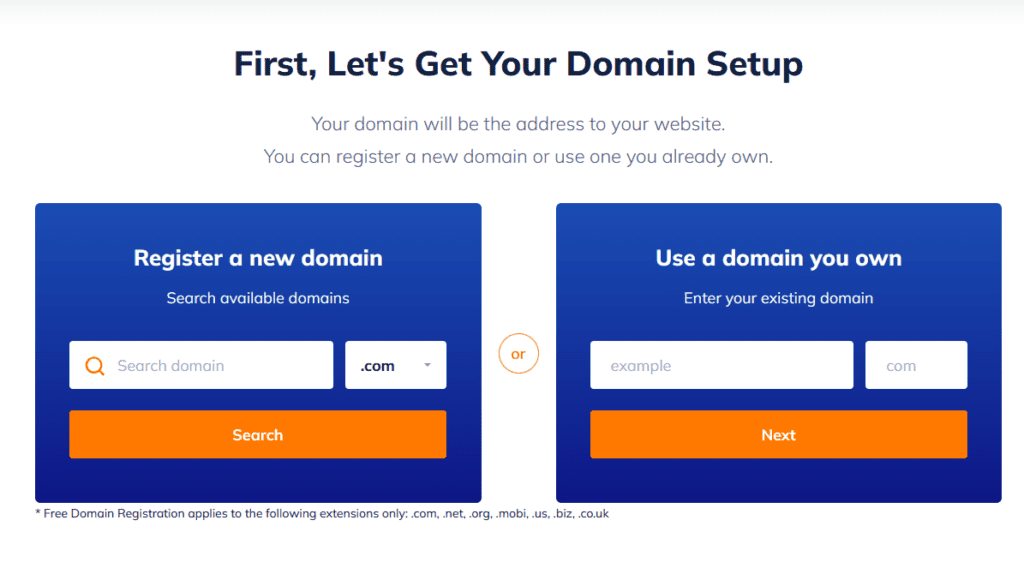
Next, add the domain name you got on the “Use a Domain Name you Own” column and click next.
However, If you are yet to purchase a domain name, you must get it before proceeding.
PS: Get your domain name on Namecheap.
Choose the Yearly Plan.
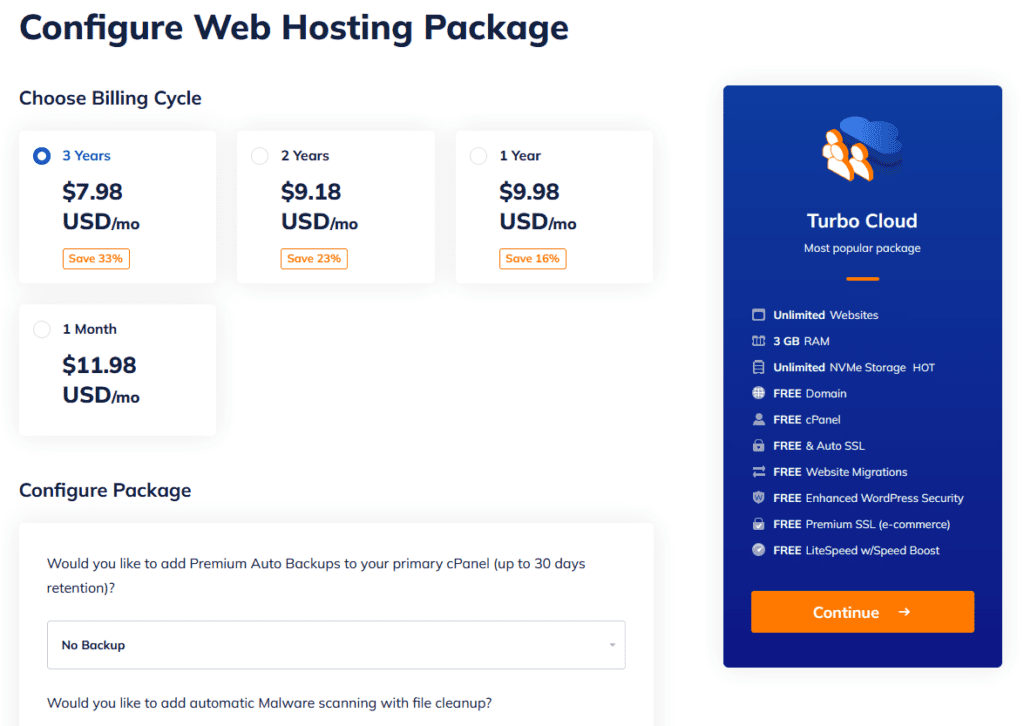
If you have the budget, go for at least a 2-year plan, and here’s why; you’ll save money and escape the expensive renewal fees (this is common with all hosting).
Unfortunately, I didn’t have this mention back then, and I wasn’t sure about using the same hosting after a year. But I wish I knew better; I would have saved more money.
You won’t worry about the monthly billing cycle every single month and don’t need those extra deals like the monthly backup and other additional stuff.
After choosing your hosting plan, click “Next, “fill in your information, and voilà! You’re almost there.
5. Get a Website Theme
After getting your domain name and your self-hosting, you’ll need to get a website theme.
Designing a beautiful website is essential to look professional so your readers can take you seriously.
Having a professional and beautiful theme will make you more credible.
As there are both free and paid themes, I recommend getting a paid theme. Free themes don’t look good, and they are limited in customization options.
Also, buying a theme isn’t that expensive, so you’ll be able to get a professional-looking website on a budget.
I’ve spent time looking for the best yet cheapest themes for WordPress, and as so many bloggers recommend the 17th Avenue Themes to be the top for beautiful and cheap themes, I’ve got their theme, “Amelia,” which I still use until now, and I really love it.
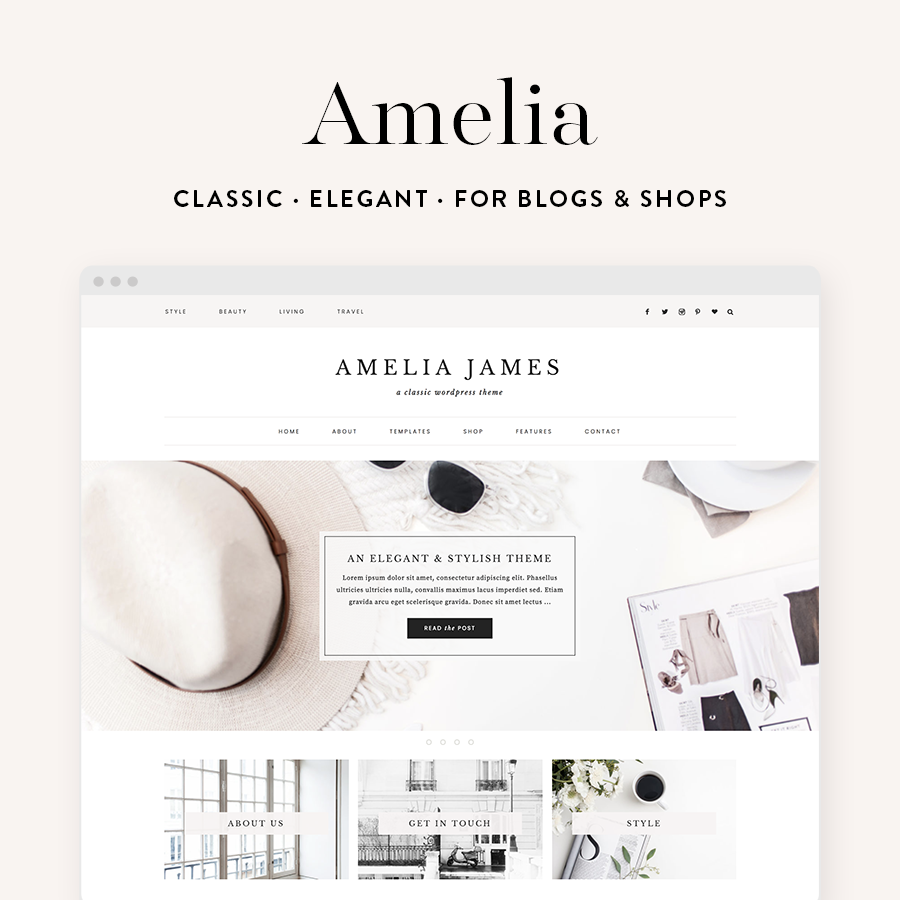
It was really cheap and gave me the professional looking website without spending thousands on a custom-designed theme. PS: This is to AVOID
There is another new theme released by the 17th Avenue Themes designer called “Clover” that I’m totally obsessed over it.
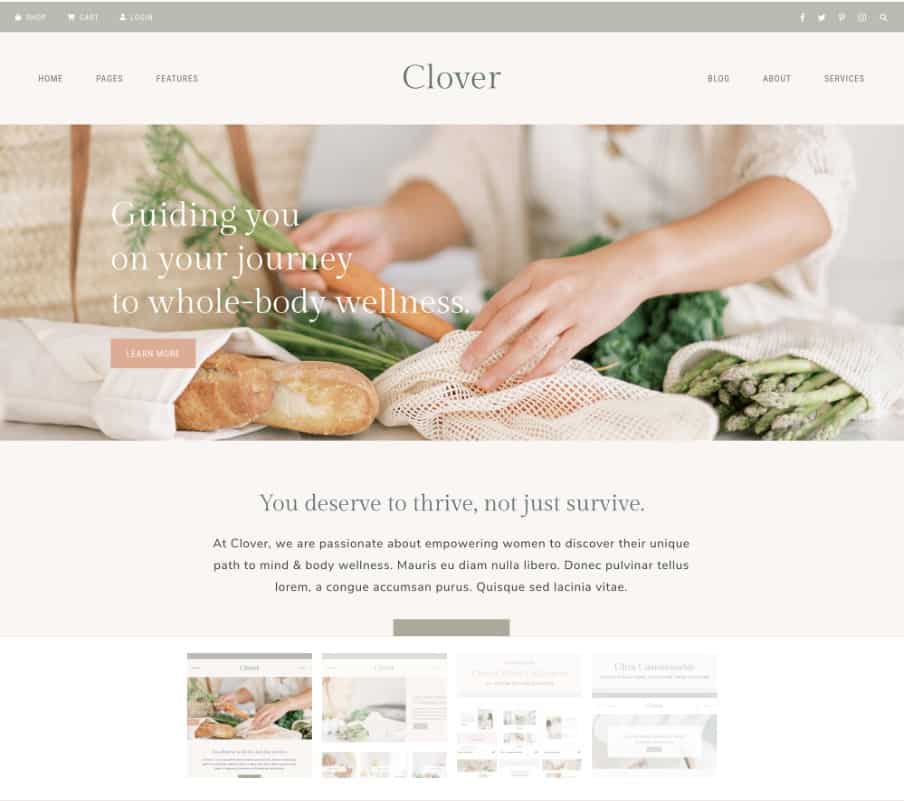
If you have a bit of money to spend on a theme, I highly recommend it because it’s so flexible and you can customize your website the way you want it easily yourself without any designing skills or coding.
I’ve been in love with it since it was released and I have bought it as well!!
The next thing I wish I had chosen when I got my theme is to get them install the theme for me.
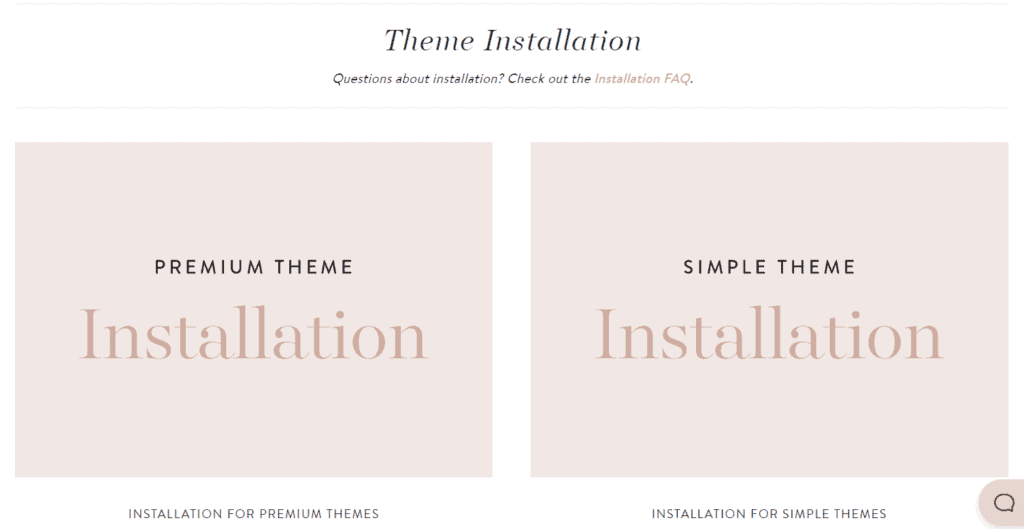
It took me so much time to install it because I was super busy with exams, and I had little time to setup it up.
If you’re in the same situation and you need your theme to be setup professionally (let’s admit it, did some errors LOL), they offer an installation service that will save you the effort. This installations service is the best option to start, but you can install yourself too.
6. Legal Pages
As you’ve completed all the steps of having a professional blogging website, there still a one last step of how to start a blog you can’t ignore it which is getting legal pages that will protect your website.
If you’re starting a website and you want to make money from it, you have to get a privacy policy, terms and conditions, and a disclaimer policy.
These legal pages are important and you need them as ad agencies and even affiliate programs require them.
When I was looking of how to get the blogging legal pages and staking other big bloggers, I’ve come across Amira Law who is an entrepreneur and a lawyer who helps bloggers protect their businesses.
She offers different blogging legal bundles that you can get for an affordable price that she makes sure your website and your business is protected.
This made my blogging journey so much easier and I was able to apply to any affiliate program I wanted as they consider me as a business.
I have got Amira’s starter bundle and I highly recommend you to get the same which includes all the legal pages you need to run your website.
7. Blogging Setting Steps, You Need to Do When You Start Blogging
Before you publish your first blog article, there are so changes you need to do. I wanted to include this in the How to start a blog article as it’s a crucial part of starting a profitable blog.
Reset Your Permalink Settings
The permalink is your blog posts’ URL. For example, if you’re writing a blog post about “Best Guest Wedding Dresses”, your permalink will be: yourblogname.com/best-guest-wedding-dresses.
This is the correct format of having a permalink.
However, when we start blogging, our permalink isn’t set as “post name”. It’s set as day and name which means, you’ll have the date of the published blog article in the URL. This is highly unrecommended and you need to reset it as “Post Name”.
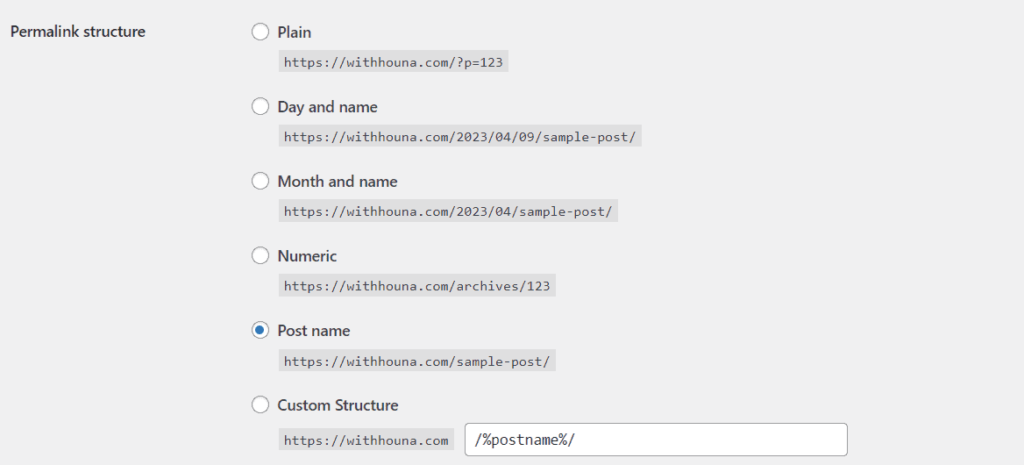
To do this, go to the settings on WordPress, and click on Permalinks. You’ll find that your permalink is set as default as: Day and Name. Change it to: Post Name and then click Save!
And that’s it!
Congratulations, you’re officially a blogger now! Can’t wait to see you grow and shine.

Glad to see that you recommend name hero for host and name cheap for domain. I need to change things around in my blog.
Honestly, they are the best, especially the host, I was surprised about how good they are especially when you start out and you don’t know anything about hosting. Hope you’ll have the same good experience like me.
Wow, that is a crazy accomplishment in just one year! I am so inspired.
Thank you! Appreciate this.
Can you show us income proofs? Like from where and how much did you earn? That would be so inspirational. Thank you, Houna!
You can check my blog income reports for income proofs.